How to Take Screenshots in PHP: 5 Methods That Work

Written By Hanzala Saleem
Updated At July 06, 2026 | 7 min read
Written By Hanzala Saleem
Updated At July 06, 2026 | 7 min read
PHP still runs the server side of roughly 74% of all websites whose server-side language is known (source: W3Techs, 2026), so it remains a common place to add screenshot capture. If you need to turn a live URL into an image from PHP, this guide walks through five methods and shows which one fits your stack.
One thing to clear up first: capturing a website is not the same as capturing the server's screen. On a headless server there is no visible display, so the reliable methods all drive a headless browser. We cover the built-in functions for completeness, then the methods you will actually reach for in production.
To capture a website in PHP, use a headless-browser library or a screenshot API, not the built-in GD functions. Browsershot (Spatie) is the easiest option in Laravel projects, Chrome-PHP works when you cannot install Node.js, PuPHPeteer gives you the full Puppeteer API, and a screenshot API removes all setup by returning the image from a single request. The built-in imagegrabscreen and imagegrabwindow functions only capture a local Windows display, so they do not work for website capture on a server.
Taking a screenshot in PHP means rendering a web page and saving the result as an image (usually PNG or JPEG) from PHP code. On a server there is no visible screen to capture, so the page must be rendered by a headless browser such as Chromium, either through a PHP library that controls the browser or through an external screenshot API that runs the browser for you. This is different from capturing the operating system display, which is what the older GD functions do.
Before we start, let’s look at your toolkit for this tutorial. If you want to take PHP screenshots, you’ll need:
● A web server, either hosted with a hosting provider or installed locally on your computer using something like Apache
● PHP installed on the server
Once these are installed and configured, you can start writing the scripts to take website screenshots.
Like many other programming languages, PHP has a few built-in functions that let you take screenshots.
The first, imagegrabscreen, is the simplest. It captures the whole primary display and saves it as a PNG file. Note the limits before you rely on it: it is Windows only, it needs a real graphical display, and it grabs only the primary monitor. On a typical headless Linux server it will not work, and it captures the machine's screen rather than a specific website.
You’ll need the following code to use it:
<?php
$im = imagegrabscreen();
imagepng($im, "myscreenshot.png");
imagedestroy($im);
?>
When executed, this function will take a screenshot of the user’s current screen and save it as a png file.
The second, imagegrabwindow, captures a single open window by its handle and saves it as a PNG file. The classic example drove Internet Explorer through a COM object, but Internet Explorer has been discontinued, so that sample no longer runs on current systems. Like imagegrabscreen, imagegrabwindow is Windows only and captures a local window, not a website rendered on a server. Treat both GD functions as desktop tools, not website-capture tools.
Now, if this scratches your screenshot itch - great! You’re done. But if you’re sensing some limitations to the way we take screenshots in PHP, you’re not the only one.
Browsershot by Spatie is the most widely used PHP screenshot library and the one you will see recommended most often. It wraps a headless Chromium instance and exposes a clean, fluent API, and it fits neatly into Laravel projects. The tradeoff is setup: Browsershot depends on Node.js and Puppeteer, which you install and keep updated yourself.
Install it with Composer:
composer require spatie/browsershotThen capture a page:
<?php
require 'vendor/autoload.php';

use Spatie\Browsershot\Browsershot;

Browsershot::url('https://example.com')
    ->windowSize(1920, 1080)
    ->save('screenshot.png');
For pages that load content with JavaScript, wait until the page is ready before you capture, so you do not save a blank or half-rendered image:
Browsershot::url('https://example.com')
    ->waitUntilNetworkIdle()
    ->fullPage()
    ->save('screenshot.png');
The fullPage() call captures the entire scrollable page rather than just the viewport. Browsershot is the right pick when you want a well-documented library and can run Node.js on the same server.
If installing Node.js is not an option, Chrome-PHP is a pure-PHP library that talks to Chrome directly over the DevTools Protocol. There is no JavaScript toolchain to maintain, which makes it a good fit for locked-down or minimal server environments.
Install it with Composer:
composer require chrome-php/chromeThen render and save a page:
<?php
require 'vendor/autoload.php';

use HeadlessChromium\BrowserFactory;

$browserFactory = new BrowserFactory();
$browser = $browserFactory->createBrowser([
    'windowSize' => [1920, 1080],
]);

try {
    $page = $browser->createPage();
    $page->navigate('https://example.com')->waitForNavigation();
    $page->screenshot(['format' => 'png'])->saveToFile('chrome-php.png');
} finally {
    $browser->close();
}
Chrome-PHP is more low-level than Browsershot, so you handle more of the browser lifecycle yourself. You still need Chrome or Chromium installed on the machine. Choose it when you want direct DevTools access without a Node.js dependency.
PuPHPeteer is a PHP bridge to Node.js Puppeteer, so you get almost the full Puppeteer API from PHP. It is a strong choice when you already know Puppeteer or need features that only Puppeteer exposes, such as fine-grained request interception or emulation.
Install both the PHP and Node sides:
composer require nesk/puphpeteer
npm install @nesk/puphpeteer
Then capture a page:
<?php
require 'vendor/autoload.php';

use Nesk\Puphpeteer\Puppeteer;

$puppeteer = new Puppeteer;
$browser = $puppeteer->launch();
$page = $browser->newPage();
$page->goto('https://example.com');
$page->screenshot(['path' => 'puphpeteer.png', 'fullPage' => true]);
$browser->close();
PuPHPeteer needs both PHP and Node.js, so its setup cost is the highest of the library options. The payoff is access to Puppeteer's full feature set from PHP code.
For example, the imagegrabscreen function only takes a screenshot of the user’s primary display. This means that in the case of a user using multiple displays, the primary display should have the browser window open.
Also, these functions don’t provide a way to take website screenshots in bulk.
And if your OS of choice isn’t Windows, too bad. These functions are only available on Windows systems. If you want to take website screenshots on Linux and Mac systems, you’ll need another solution like using an external library or writing your own script.
Either way, these solutions might require some tinkering on your part to get them right.
If you would rather not install or maintain a headless browser, a screenshot API runs the browser for you and returns the image. You send a URL and get back a PNG or JPEG, with no Chromium, Node.js, or scaling to manage. ScreenshotAPI takes screenshots programmatically in a range of formats and resolutions, and it handles bulk and full-page capture through the same endpoint.
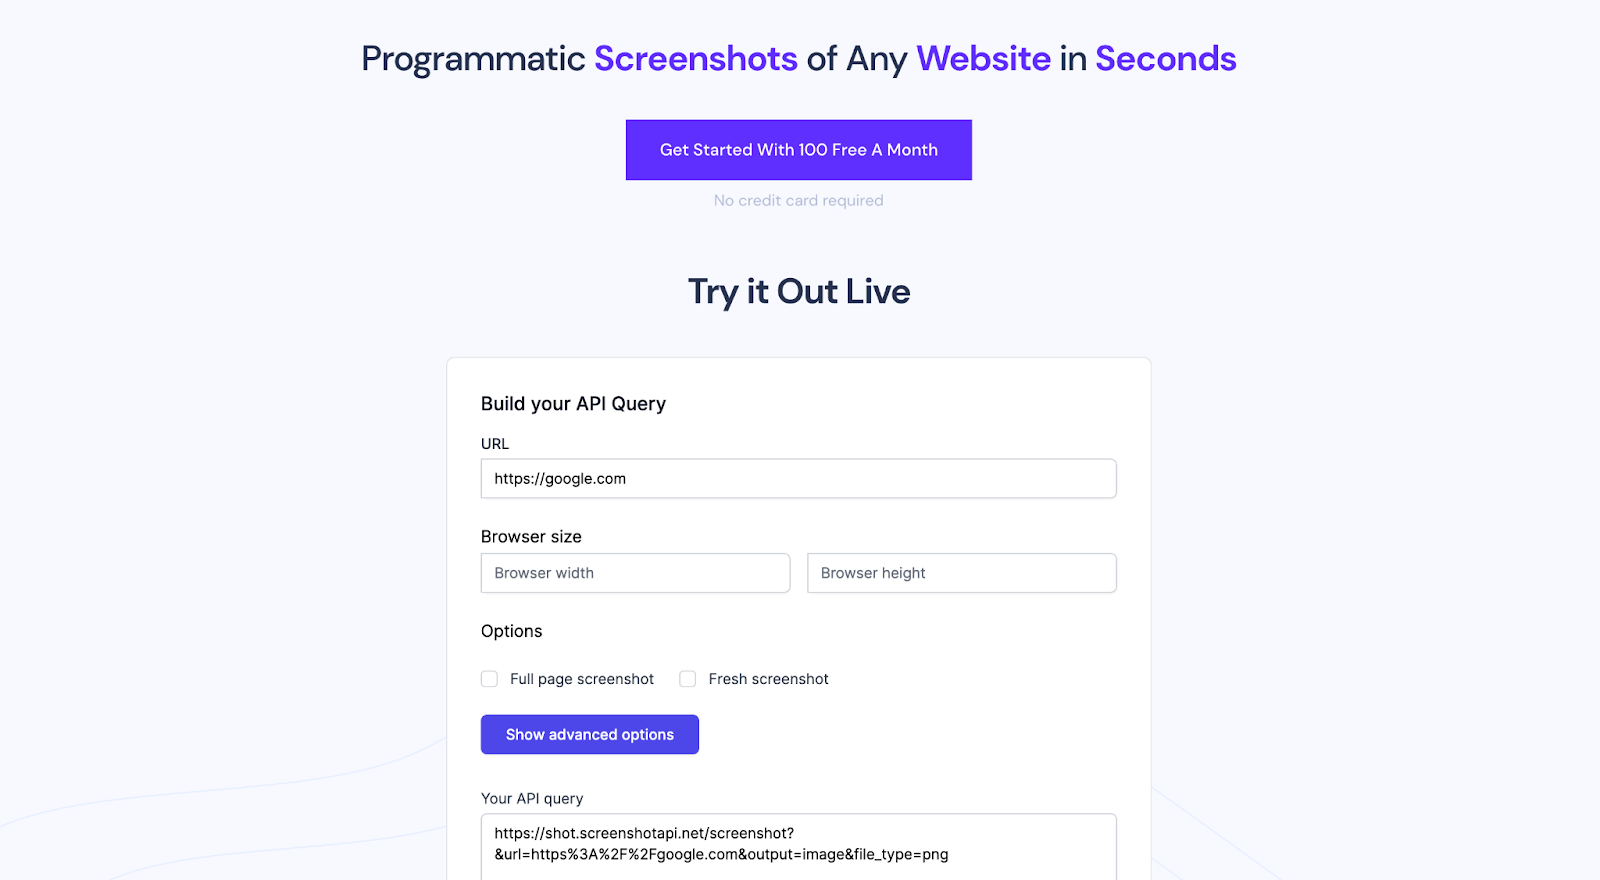
To use the API, you’ll first declare the variables that you’ll use to construct your API query parameters in your PHP tags.
These variables include:
<?php
$token = "Your API Key";
$url = urlencode("https://google.com");
$width = 1920;
$height = 1080;
$output = "image";
After you’ve defined the variables, you can construct your query parameters:
$query = "https://shot.screenshotapi.net/screenshot";
$query .= "?token=$token&url=$url&width=$width&height=$height&output=$output";
You can then call the API and save the screenshot:
$image =  file_get_contents($query);
file_put_contents("./screenshot.png", $image);
?>
Useful query parameters include width and height for the viewport, output for the response type, full_page=true to capture the entire scrollable page, and format for PNG, JPEG, or WebP. See the ScreenshotAPI documentation for the full parameter list and authentication details.
| Method | Node.js needed | Website capture | Best for | Setup effort |
|---|---|---|---|---|
| imagegrabscreen / imagegrabwindow (GD) | No | No (local display only) | Capturing a local Windows screen | Low |
| Browsershot (Spatie) | Yes | Yes | Laravel and well-documented projects | Medium |
| Chrome-PHP | No | Yes | Servers without Node.js | Medium |
| PuPHPeteer | Yes | Yes | Full Puppeteer API from PHP | High |
| Screenshot API | No | Yes | Zero infrastructure, bulk, and scale | Low |
Rule of thumb: pick Browsershot for Laravel, Chrome-PHP when you cannot ship Node.js, PuPHPeteer when you need the full Puppeteer API, and a screenshot API when you want reliable capture without running a browser yourself.
Now, the last method, as you’ve probably seen, is a lot simpler. And once you’ve written the script, it also makes it possible to take screenshots in bulk, either of a single website or several.
Once your script is written, an API also lets you capture screenshots in bulk, whether that is one site repeatedly or many sites at once. If you want that without running your own browser fleet, get a free ScreenshotAPI key and drop the endpoint into the PHP snippet above.
Not with the built-in functions alone. PHP's GD functions capture a local display, not a rendered web page. To capture a website you need a headless browser (through Browsershot, Chrome-PHP, or PuPHPeteer) or an external screenshot API that renders the page for you.
imagegrabscreen is Windows only and needs a real graphical display. A typical Linux server runs headless with no display, so the function has nothing to capture. Use a headless-browser method or an API instead.
Use a headless-browser method that supports full-page capture. Browsershot exposes fullPage(), PuPHPeteer accepts 'fullPage' => true, and most screenshot APIs accept a full_page=true parameter. These capture the entire scrollable page rather than only the visible viewport.
A screenshot API is usually the fastest to start with, because there is no browser to install. Among the libraries, Browsershot is the most approachable if you can run Node.js, while Chrome-PHP is the simplest when you cannot install Node.js.


